Homemade Eggnog
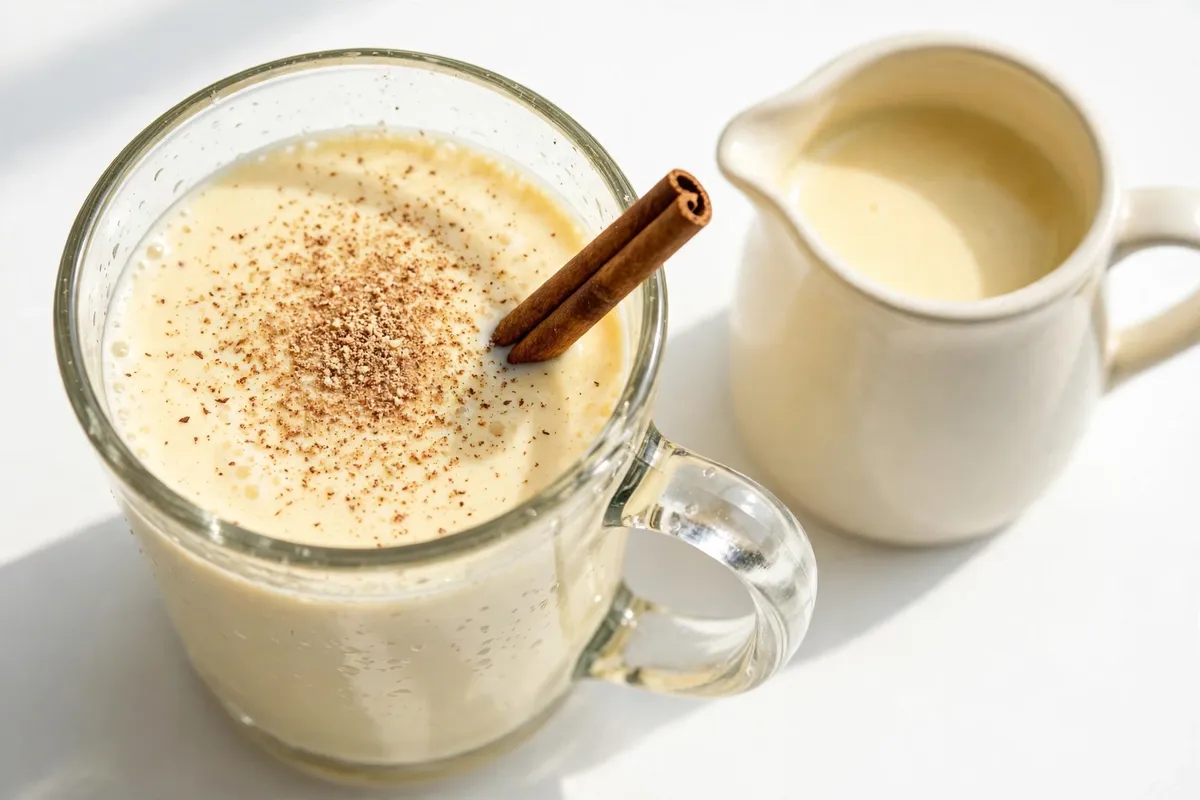
This homemade eggnog recipe uses a cooked custard base, so it is creamy, rich and safe for everyone — no raw eggs. Twenty-five minutes of hands-on time, plus two hours chilling, and it is ready to pour.
Ingredients
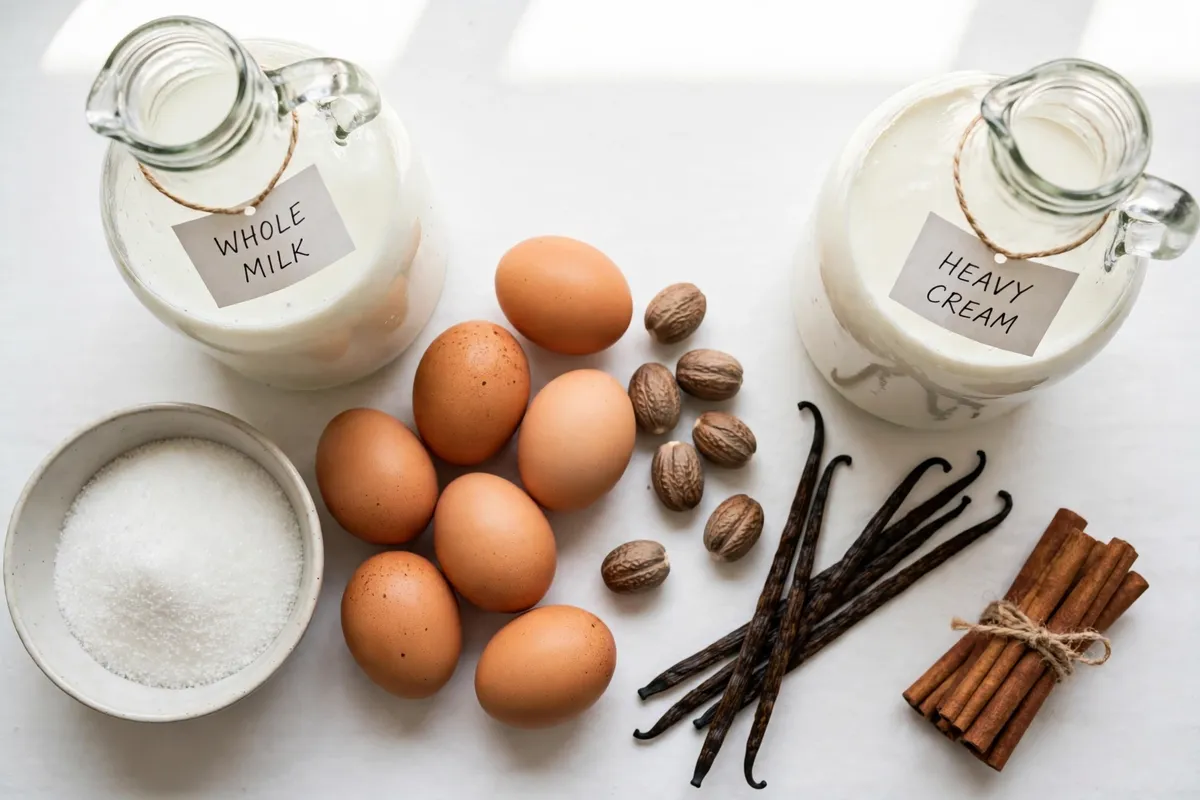
- 6 large egg yolks
- 150g (¾ cup) granulated sugar
- 480ml (2 cups) whole milk
- 240ml (1 cup) heavy cream
- 1 tsp vanilla extract
- ½ tsp freshly grated nutmeg, plus extra to serve
- Pinch of fine sea salt
How to make eggnog
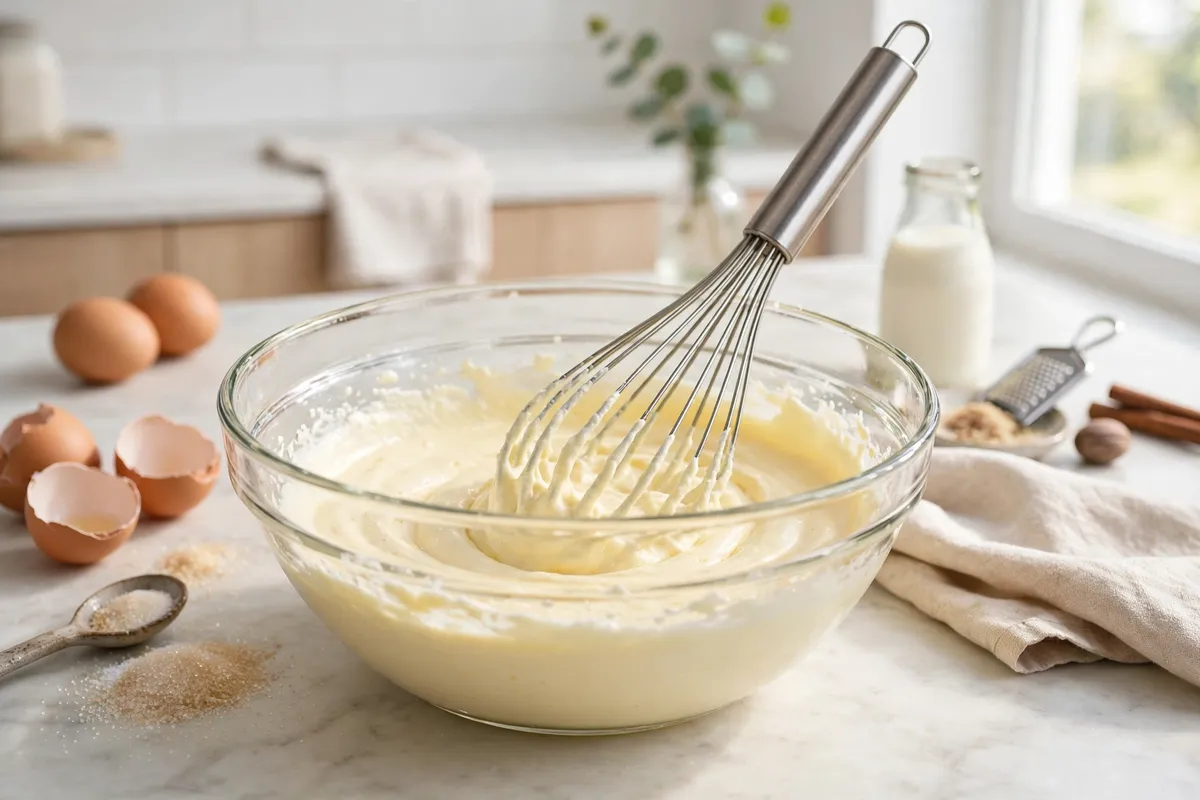
Whisk the yolks and sugar
In a large bowl, whisk the egg yolks and sugar together until pale, thick and creamy, about 2 minutes. Set aside.
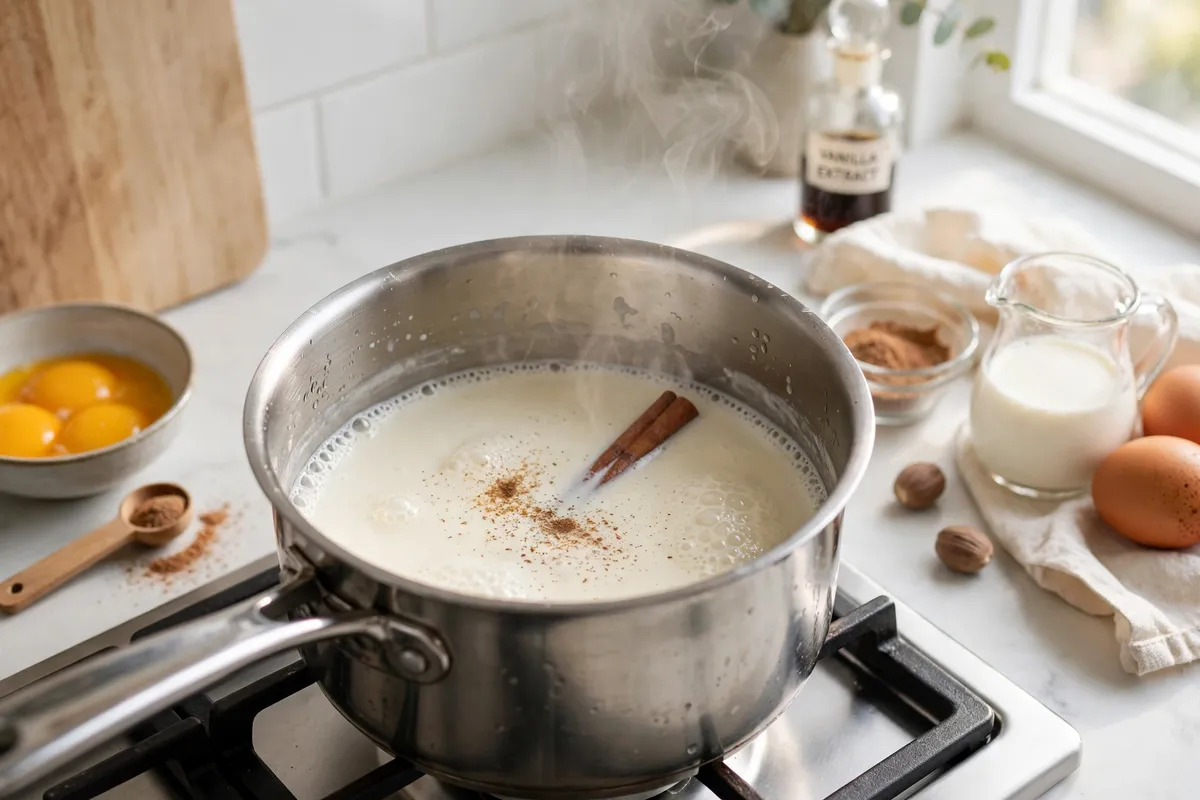
Heat the milk and cream
Pour the milk and cream into a saucepan, add the nutmeg and a pinch of salt, and warm over medium heat until steaming — do not let it boil.
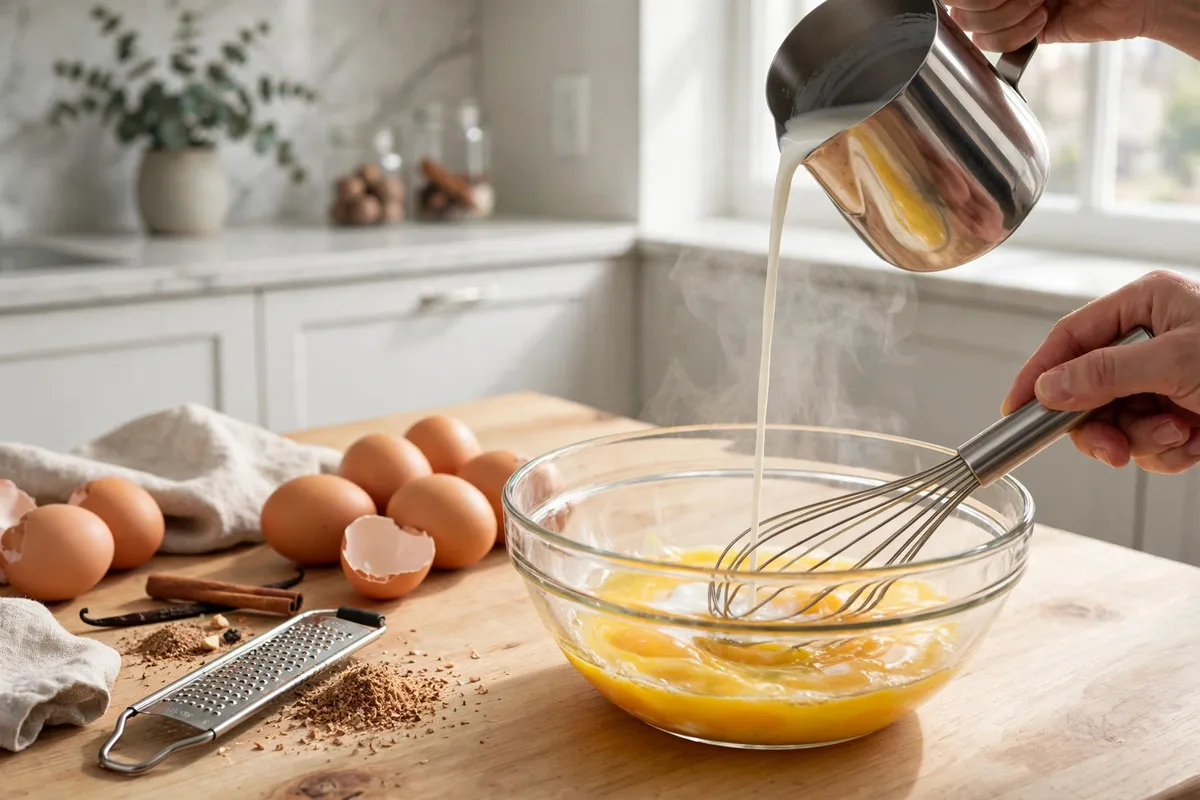
Temper the yolks
Slowly pour about half the hot milk into the yolks in a thin stream, whisking constantly so the eggs warm up gradually without scrambling.
Cook the custard
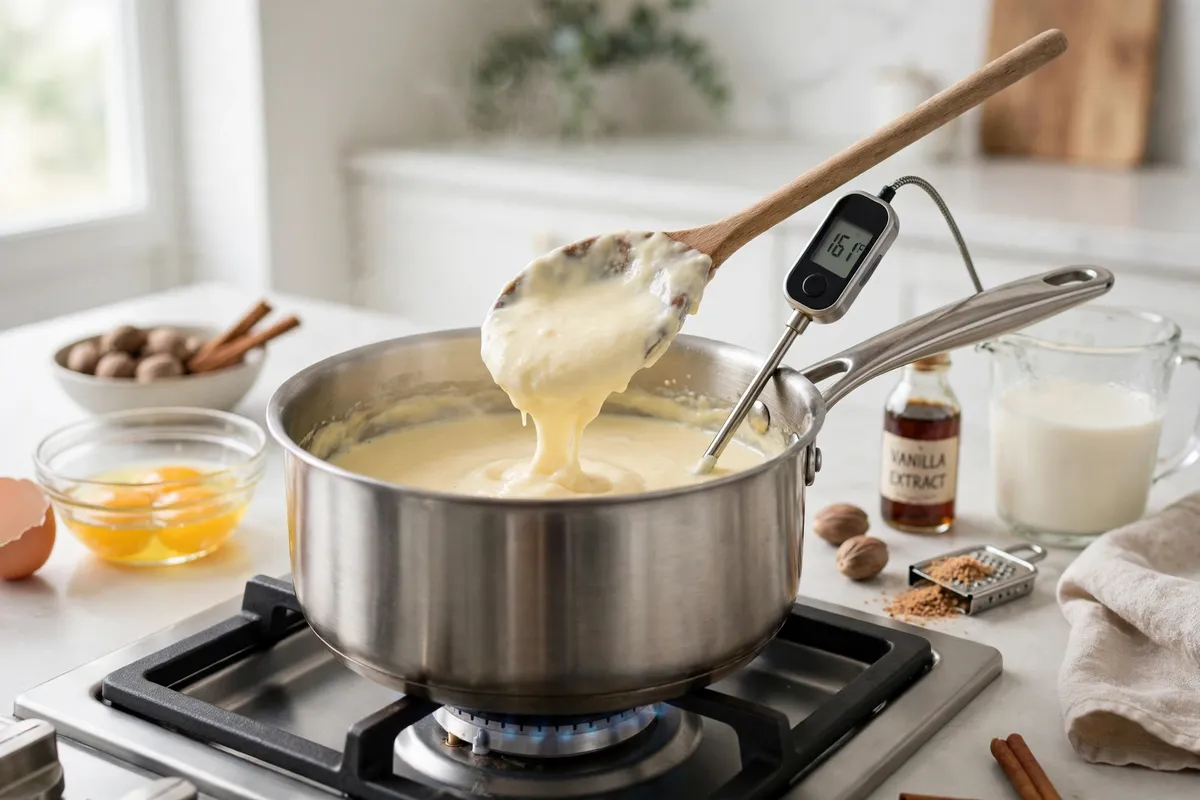
Pour the tempered yolk mixture back into the saucepan. Cook over low heat, stirring constantly, until the custard reaches 160°F (71°C) and coats the back of a spoon, about 5–8 minutes. Do not boil.
Strain, chill and serve
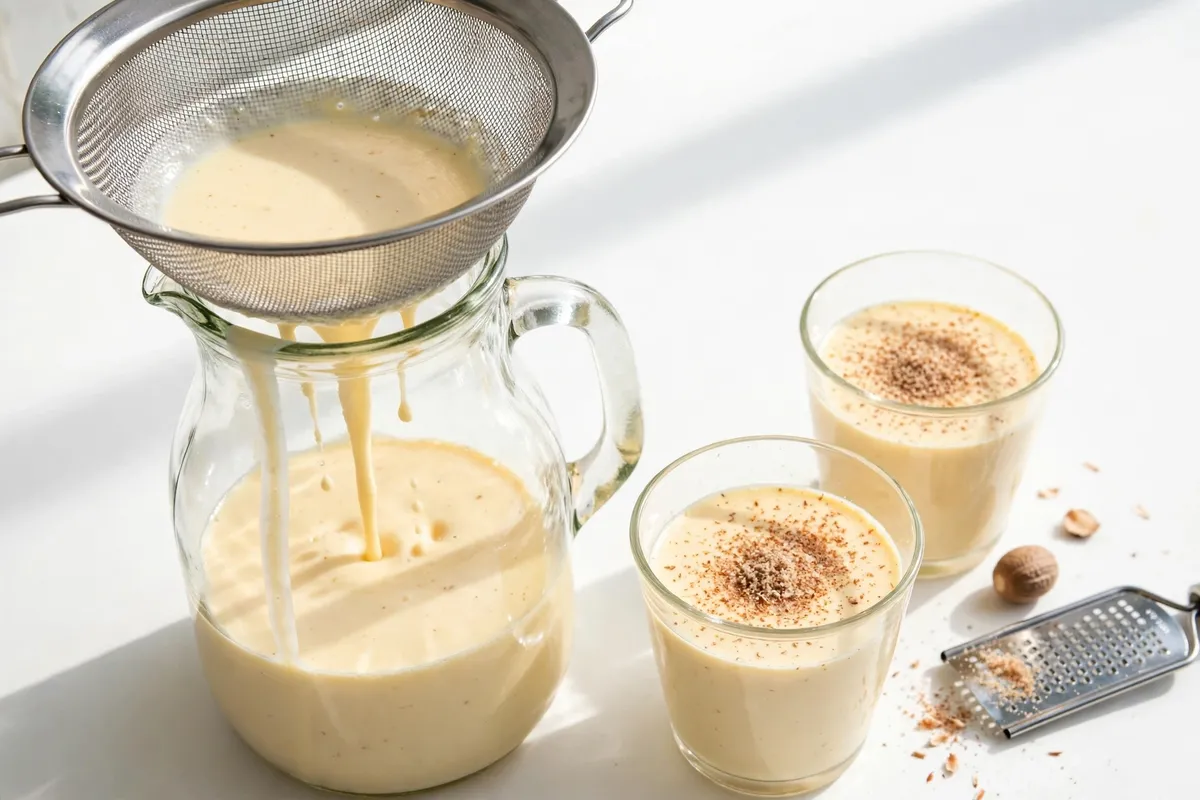
Strain the custard through a fine sieve into a jug, stir in the vanilla, and chill for at least 2 hours. Serve cold in small glasses with a grating of fresh nutmeg on top.
Tips for the best eggnog
- Cook it to 160°F (71°C). That is the temperature that makes the eggs safe, and it is also the point where the custard thickens beautifully. A kitchen thermometer takes out all the guesswork.
- Never let it boil. Boiling curdles the custard in seconds. Keep the heat low, stir constantly, and take the pan off the heat the moment it coats the spoon.
- Always strain it. A fine sieve catches any tiny bits of cooked egg and leaves the eggnog perfectly silky. It takes ten seconds and makes a real difference.
- Mulled wine variation. For a warm holiday drink alongside the eggnog, simmer a bottle of red wine with orange slices, 2 cinnamon sticks, 4 cloves and 2 tablespoons of sugar for 20 minutes — do not boil. Strain and serve warm in heatproof glasses.
How to store eggnog
Keep homemade eggnog in a sealed jug in the fridge for 2–3 days. Stir it well before serving, as the cream settles on top. Do not freeze it — the custard turns grainy when thawed. If you want an adult version, stir in rum or bourbon just before serving rather than storing it mixed.
Eggnog FAQs
Is homemade eggnog safe to drink?
Yes, when the base is cooked. This recipe cooks the egg yolks to 160°F (71°C), which is the temperature that makes eggs safe to eat, so the finished eggnog is safe for everyone, including children and pregnant guests. Raw-egg eggnog recipes do not offer that safety.
How long does homemade eggnog last?
Homemade eggnog keeps for 2–3 days in a sealed jug in the fridge. Stir it well before serving, as the cream can settle. It does not freeze well — the custard texture turns grainy when thawed.
Can you make eggnog without alcohol?
Yes — this recipe is alcohol-free as written, and it is rich and flavourful without it. For an adult version, stir in 60ml (¼ cup) of rum or bourbon per batch after chilling, or let guests add their own splash to taste.
Why is my eggnog lumpy?
Lumps mean the custard got too hot and the eggs started to scramble. Strain the eggnog through a fine sieve to rescue it. Next time, keep the heat low, stir constantly, and temper the yolks slowly so they warm up gradually.
Your week of dinners, planned.
Build a free 7-day meal plan and download it as a beautiful image.